Server installation
This page describes how to commission the ThinForge server on a fresh host: the recommended operating system, the dual-adapter network layout (corporate LAN and client VLAN) and installation via the bootstrap script. Once the server is up, the setup wizard in the web interface handles the rest of the configuration.
Operating system: Ubuntu Server (recommended)
We recommend Ubuntu Server 24.04 LTS ("Noble Numbat") as the base — it is the tested and supported platform. ThinForge runs almost entirely in Docker containers; on the host itself only Docker, a few kernel modules and time synchronisation are set up. A minimal install without a desktop is enough.
- Edition: Ubuntu Server 24.04 LTS, 64-bit (amd64).
- Scope: a minimal/standard install is enough — no desktop required. Include the OpenSSH server so the host can be administered remotely.
- Virtualisation: CPU virtualisation (VT-x/AMD-V) should be enabled in the BIOS/UEFI. Otherwise the cloning VM that builds the images only runs slowly in pure emulation.
Network: two adapters
The ThinForge server works most cleanly with two network adapters. One sits in the regular corporate LAN, the other serves a dedicated network the clients live on — typically a client network separated off by a VLAN.
| Adapter | Network | Role |
|---|---|---|
| Management / upstream | regular corporate LAN | Access to the admin interface, internet for updates and image downloads, link to the corporate DNS. This interface keeps its existing address (DHCP or static) — ThinForge does not change it. |
| Rollout / client | client VLAN | This is where ThinForge hands out IP addresses via DHCP, serves PXE boot (TFTP) and DNS resolution to the devices. ThinForge assigns a static IP to this adapter and runs the entire device infrastructure over it. |
The split exists for two reasons. First, the DHCP/PXE service must only be active on the client network — a second DHCP server in the corporate LAN would clash with the DHCP already there. Second, the admin interface is only reachable over the management network: the client adapter deliberately carries only the device/agent interface, not the web UI.
enp2s0). Tagged sub-interfaces such as eth1.20 inside ThinForge are not supported — the VLAN boundary ends at the switch port.Running with just one adapter is possible (the management and client networks then coincide). For a clean separation of corporate and device traffic, however, the dual-adapter layout is the recommended one.
Prerequisites
- A user with sudo rights (not
root). The install script refuses to start as root and usessudowhere needed. gitis installed:sudo apt-get install -y git.- Internet access over the management LAN — for Docker, the container images and the Clonezilla image.
- A correctly set clock. The script configures the timezone and NTP synchronisation (important for TLS and the agent heartbeat).
Installation via the bootstrap script
The entire setup is handled by bootstrap-release.sh in a single run. The script is part of the public release repository and fetches everything else itself — no credentials are required.
# Run as a sudo-capable user — NOT as root
git clone https://git.thinforge.org/thinforge/ThinForge-Release.git ~/ThinForge-Release
cd ~/ThinForge-Release
./bootstrap-release.sh
The script works through three steps:
- Fetch the release — clones (or updates) the public release repository.
- Dependencies (
install-deps.sh) — installs Docker plus the Compose plugin, loads the required kernel modules, configures timezone/NTP and generates the.envautomatically with randomly generated passwords. Nothing needs to be edited by hand for a standard install. - Start the stack (
deploy.sh) — pulls the prebuilt container images from the registry, generates the TLS certificate and starts the complete service stack.
ssh -t — the script asks for the sudo password several times and needs a real terminal. After the first run the user is added to the docker group; log out and back in once (or run newgrp docker).First visit & setup wizard
After the run, the interface is reachable at https://<server>/ (the script prints the address at the end). The TLS certificate is self-signed at first — accept the browser warning once.
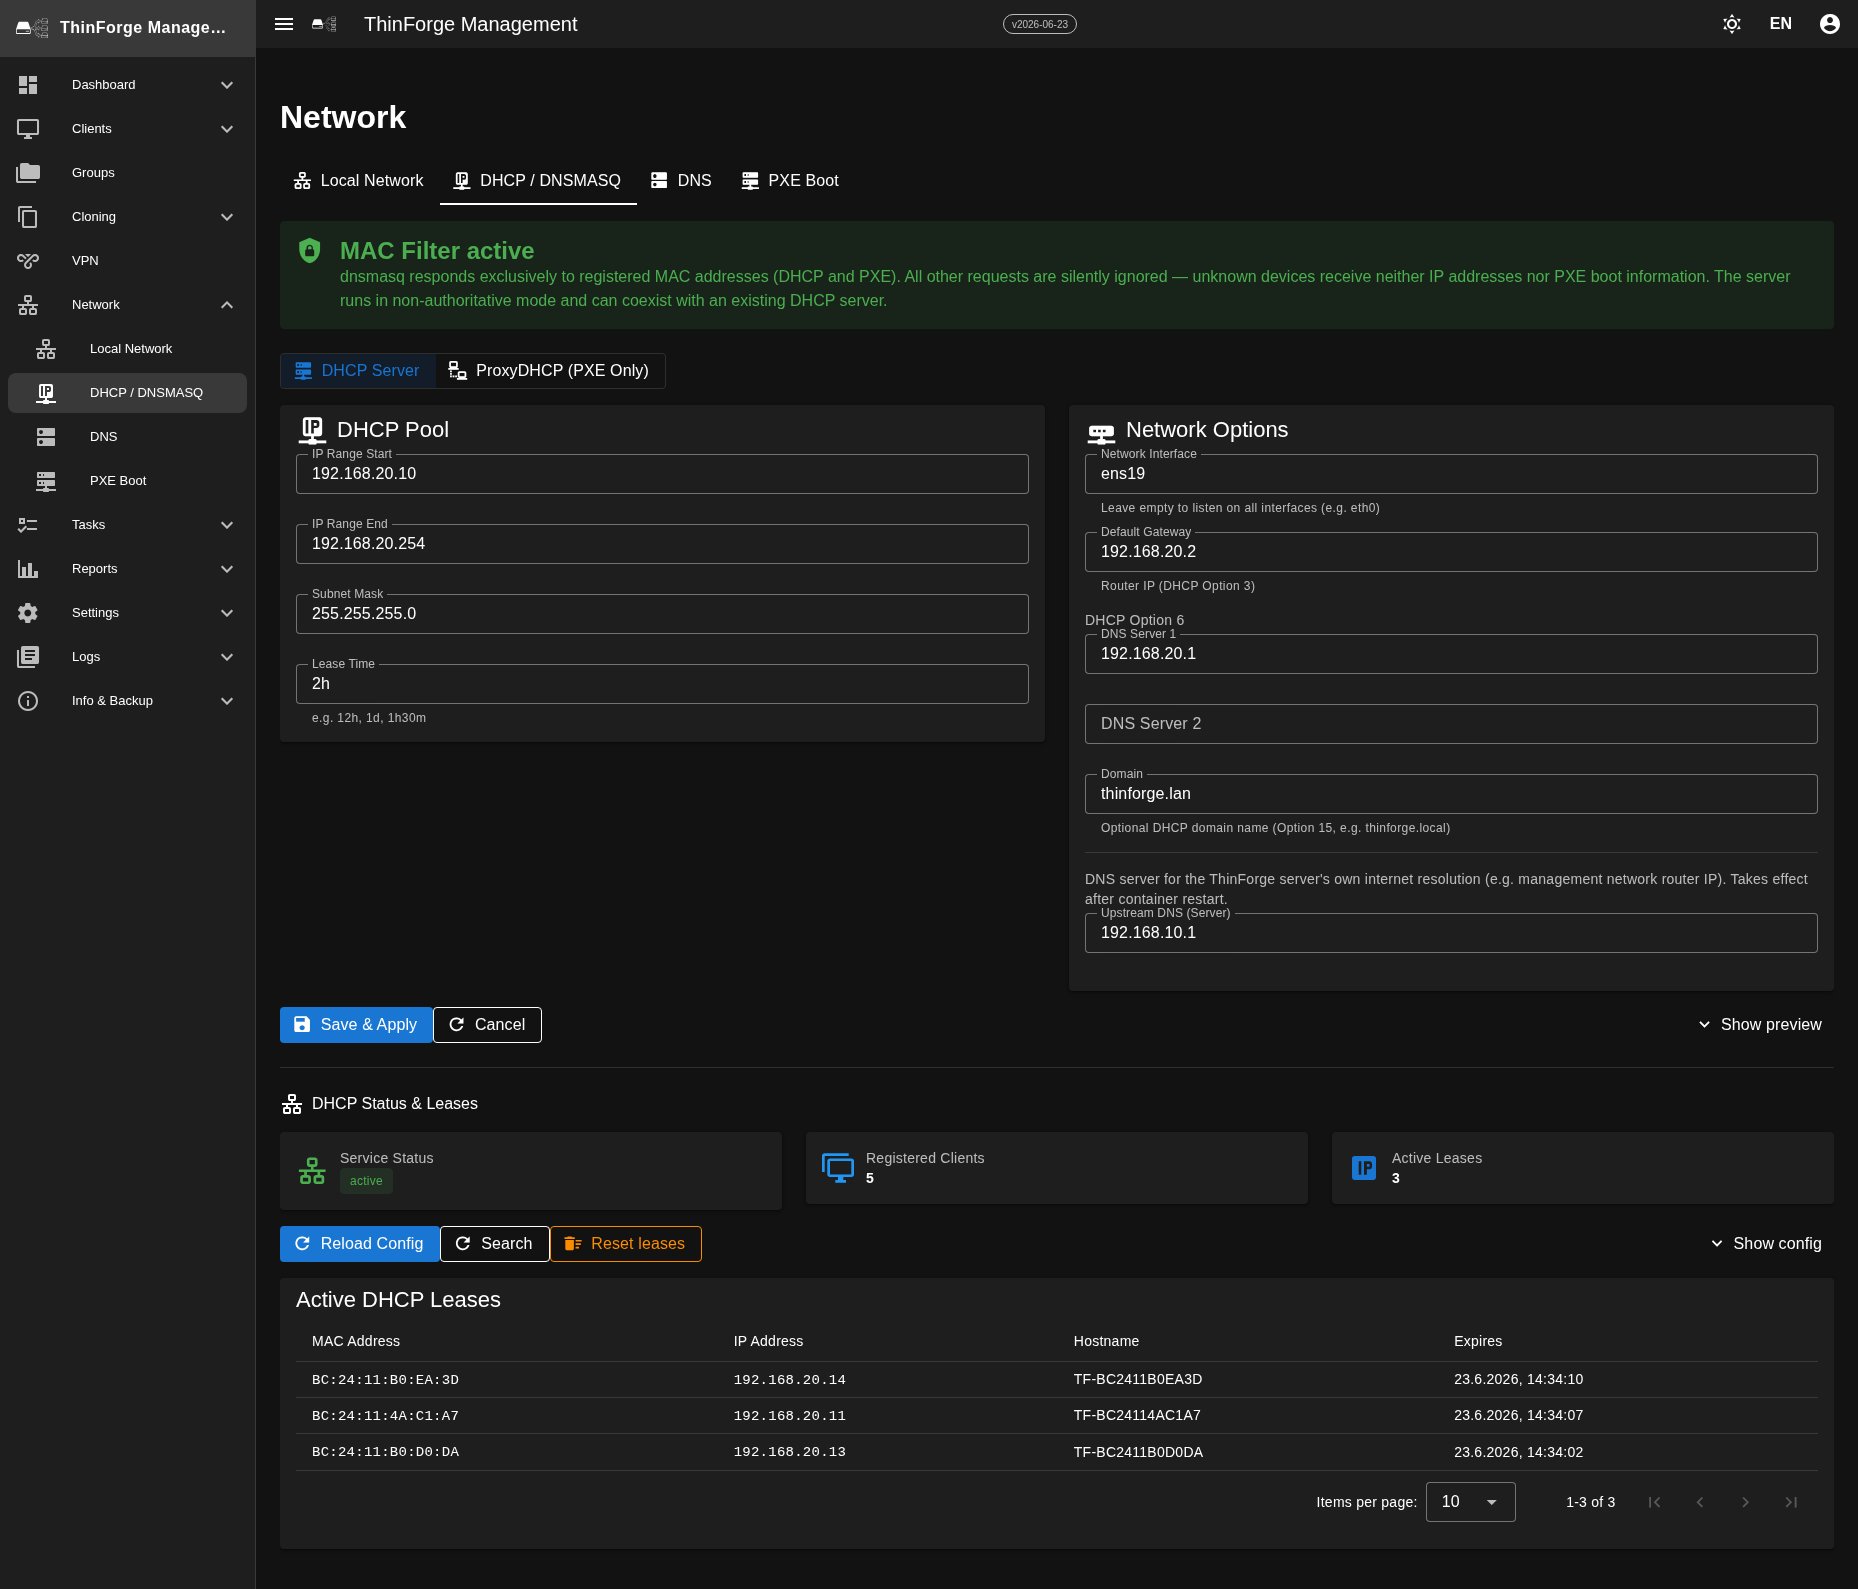
On the first visit, the setup wizard walks you through the rest of the configuration. In the network step you assign exactly the two adapters described above:
- Management interface — the adapter in the corporate LAN through which the interface is reachable, plus the server's upstream DNS.
- Rollout interface — the adapter into the client VLAN, with a static server IP, DHCP range, gateway and lease time. The wizard derives the matching address range from the server IP automatically.
Finally the wizard creates the administrator account (username, email, password) — there is deliberately no default login. You then sign in with those credentials. The detailed DHCP, DNS and PXE settings can be reached at any time later under Network.